
The Tres Chic Collection is inspired by my love of all things Vintage, Antique, Parisian and Shabby Chic.
As photographers/artists, you are well aware of the heart, soul and work that goes into creating a beautiful image, and while we can try to achieve that perfect straight out of camera image... some of the effects that we wish to achieve, simply are not possible without the help of some post processing!
I am often asked about my processing technique, so I have decided to share it here, for you all!
Well, for Tres Chic, this is where the "Florabella Collection" comes in... This is an absolute staple in my work.
I can not even remember the last image that I processed without an action or texture from this stunning collection, because it has helped me to achieve a look in my work I may otherwise not be able to achieve, while still being able to define my own style... which is crucial!
I am the proud owner of the complete set to date, and I will use and refer to textures and actions from this set in order to talk you through my processing technique!
You are able to view and purchase the Florabella Collection actions and textures by clicking on the button to the right!
Now, this is not a tutorial about HOW to use actions and textures,this is purely MY recipe, for how my images get from SOOC to "Tres Chic" ready!!
{1}
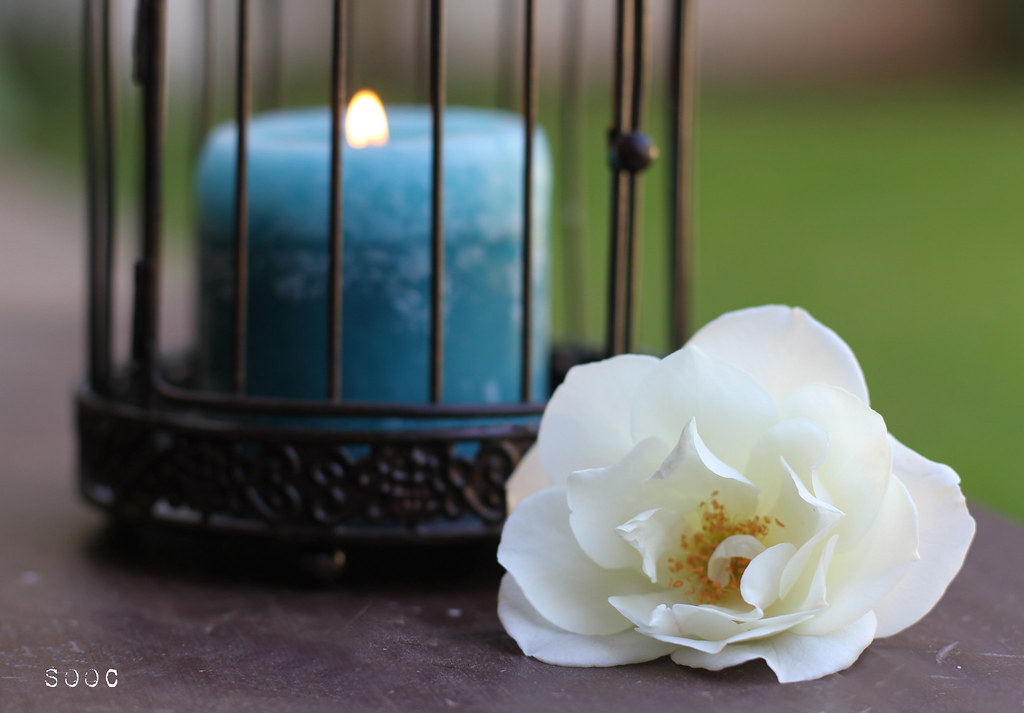
Here is my image SOOC.
{2}

So, for my first step I will run my chosen action. In this case, I have chosen "Cosmopolitan" from the Florabella Colour and Haze set ~ this has remained one of my favourites since the very start!
Now, you have options here.
You can choose to ~
1. Adjust the opacity, or add a layer mask to the action as a whole or
2. open the folder and adjust your layers individually - I always go with option 2.
~
TIP: When I open an action folder, I like to go down the list of layers, one by one and turn each layer off, and then back on, to see exactly what effect each layer is giving the image. It is from here that I am able to determine if I should tweak any of the layers in the action.
~
For this image:
I chose to lower the opacity of the "Vignette layer" from 45% to 13%
I then removed a small amount of the vignette from the top left hand corner of the image using the layer mask {which is already provided in the layer}and a soft, low opacity brush,, as this corner was a little too dark!
Next, on the "Soft Centre Light" layer, I used the layer mask to remove a little of the light from the rose, as it is quite white, so I didn't want it looking blown out!
I repeated this step on the "Special Boost" layer.
I turned OFF the "Warmth" layer.
I again used the layer mask and a soft, low opacity brush on the "Soft Pop" layer, over the rose.
I turned ON the "Sheer Haze" Layer!
{All other layers were untouched!}
{3}
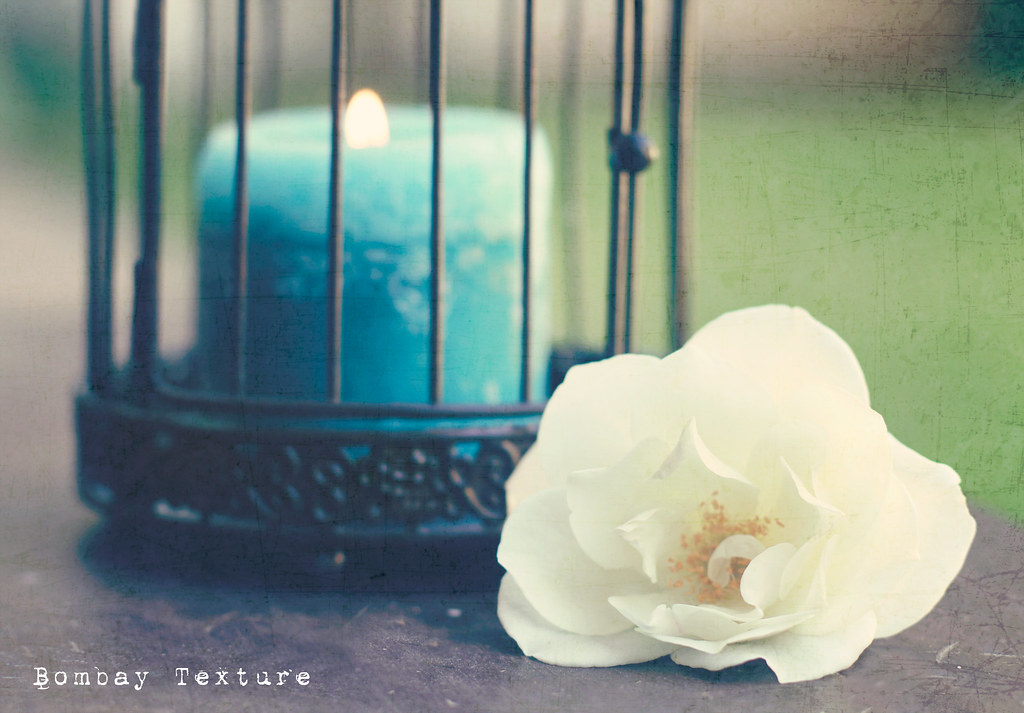
Next I added "Bombay {cool}" texture from Florabella Collection Texture set I.
I set the layer to "Soft Light" in the layer styles, and lowered the opacity to 42%
{4}
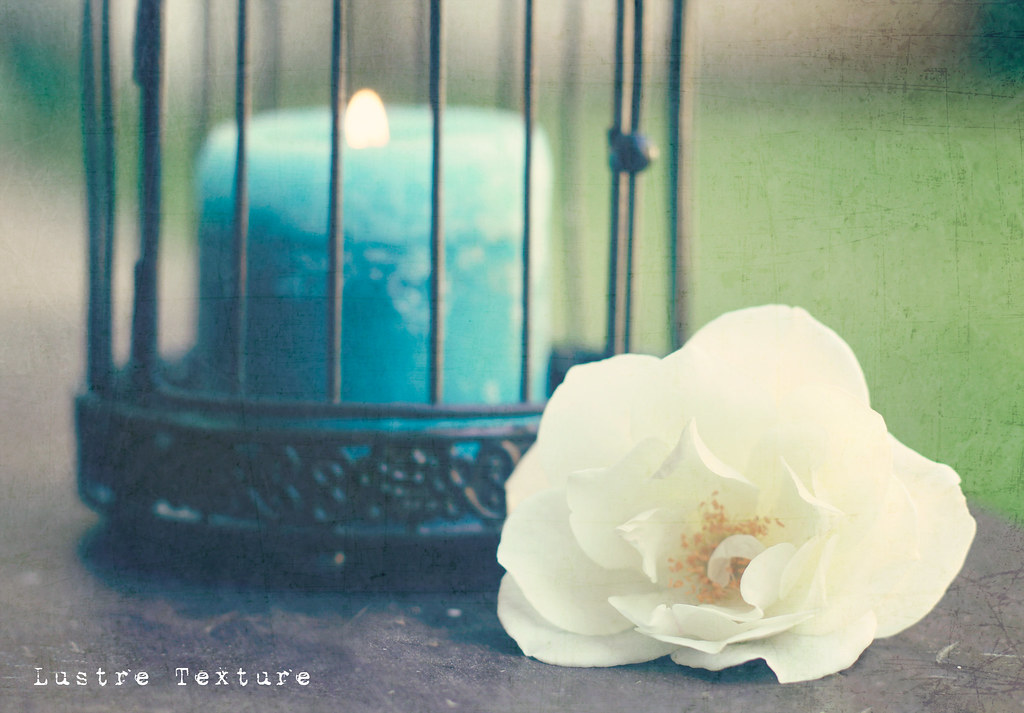
Next I added "Lustre {cool}" texture, also from Set I
I set this layer on "Soft Light" and adjusted the opacity to 35%
I then chose to remove a lot of the texture from over the rose, using the layer mask, and a soft, low opacity brush.
{5}
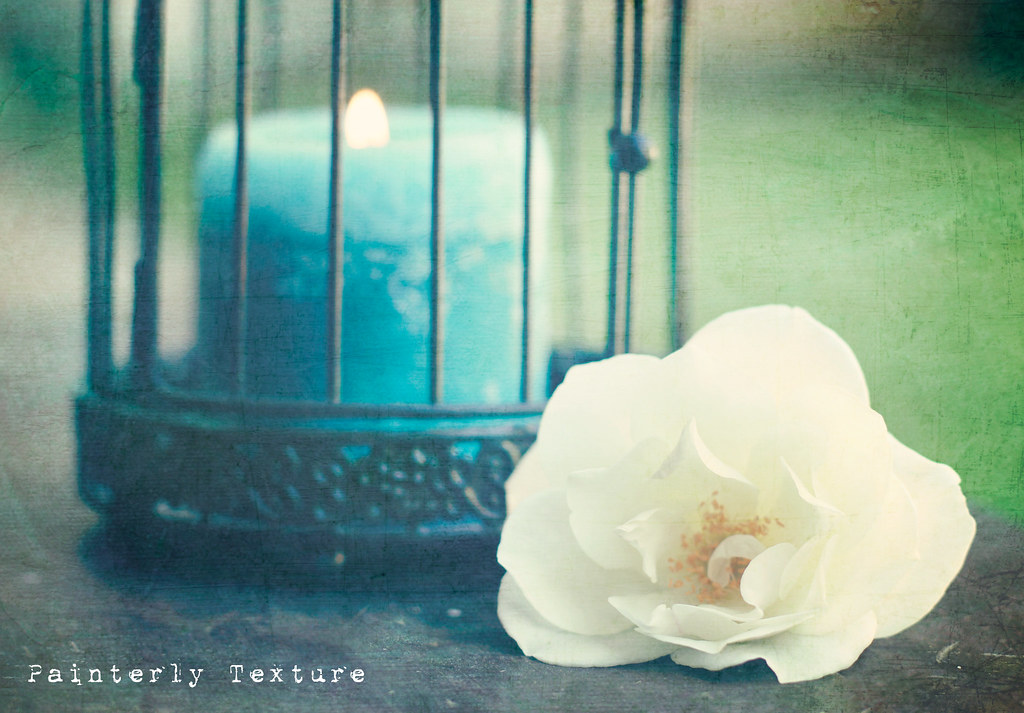
And, for the final "Florabella" tweak... I added "Painterly {Cool}" texture.
I set the layer style to "Overlay" and adjusted the opacity to 79%
I brushed lightly on the layer mask over the flower and the top of the candle to remove just enough of the texture to bring back the details.
{6}
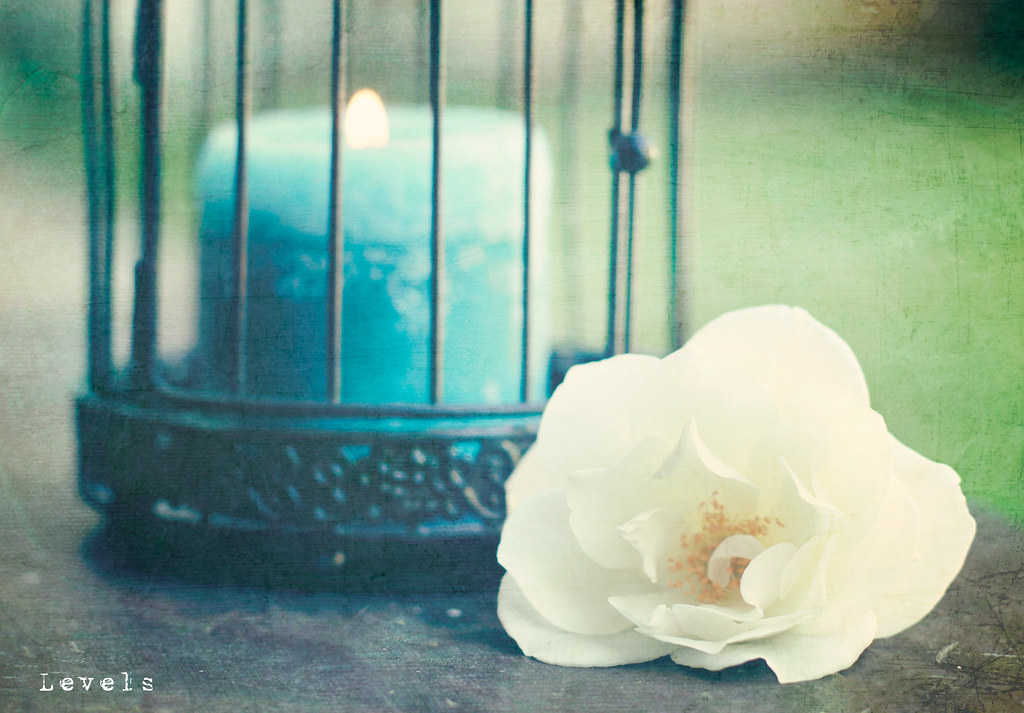
Finally, I added a "Levels" adjustment layer, directly above the "Background" layer.
The points are as follows: 19, 1.30, 255
I choose to leave these types of basic adjustments to last, as Florabella really can be a complete workflow, so rather than adjusting Hue and Saturation, Curves, Levels etc.before hand, I wait to see if an image needs anything further... and to be quite honest, it quite often doesn't!
So... Here again, a last little peek at the Before & After!
{Roll over with your mouse to see the change}
So... Here again, a last little peek at the Before & After!
{Roll over with your mouse to see the change}

So, that's it for my first big reveal...
I hope you enjoyed your visit!
If you find it helpful, please take the time to leave a comment and share my blog with your friends, so that I know to keep them coming!
If you find it helpful, please take the time to leave a comment and share my blog with your friends, so that I know to keep them coming!
Ciao Now x


Beautiful - thank you for the tutorial, so glad I was paying attention to Facebook tonight and saw your link. I better start saving my money - I think I simply must have the collection also :O)
ReplyDeleteKristin
I absolutely adore florabella actions and textures. However, I only have texture set 2 and I think you just inspired to me to go and buy set 1!!! Beautiful photo, and great tutorial! Thanks for sharing!
ReplyDeleteHayly,
ReplyDeleteYour image is beyond beautiful! My Flickr friend led me to your site as she is a big Flora Bella fan. I am convinced ...I will be purchasing the actions today. I will bookmark this site so that I can come back. Thanks!
so amazing!!!...thank you for sharing hayley! :)
ReplyDelete